How to Trim Your Dog’s Nails
Trimming a dog’s nails properly is important for the safety and comfort of your canine companion.
Dog’s nails should be trimmed every 6-8 weeks. Without regular nail trims, dogs nails may grow too long and may fracture and break off, which can lead to infection, injury or other complications.
Depending on the size and breed of your dog, you may need assistance trimming his or her nails. Sometimes we recommend that only a professional trims a dog’s nails, for the owner’s safety and convenience.
If you are a beginner, it’s best to start by getting your dog used to having his or her paw’s handled. Try to touch his or her legs, feet and paw pads as often as possible to de-sensitive them to your touch. Do this as often as possible, not just at nail trim time.
When you are ready to trim your dog’s nails, you may want to solicit the help of a friend to hold your dog while you trim. You or your friend will need to hold your dog steady as the trimming is being done.
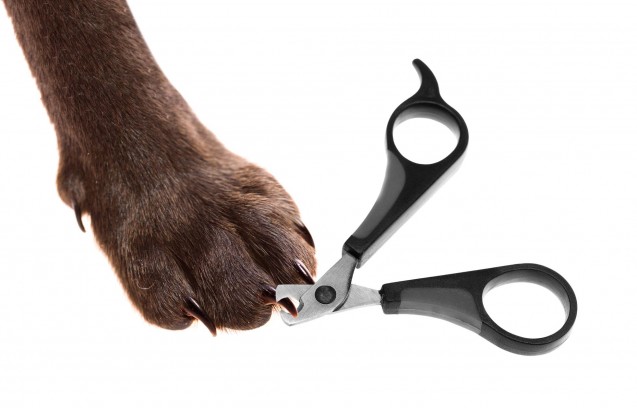
It is important to use a nail trimmer made specifically for trimming dog nails. These are available at most pet supply stores, groomers or veterinary clinics.
You will extend your dog’s nails and trim off only the tip of the nail. Dog nails come in all different colors, so be extra careful with dark-colored nails. Inside the nail, toward the bottom by the nail bed/paw pad, is what is called the “quick.” This is blood inside the nail.
You want to trim your dog’s nails above the quick. If you accidentally hit the quick, the dog’s nail will bleed. You will then need to put styptic powder, cornstarch or flour on the dog’s nail to stop the bleeding. Your dog will not bleed to death, but it is a good idea to have these powders on hand in case you nick a nail.
With practice, trimming your dog’s nails becomes an easy, quick routine. If you are unsure about it, your veterinarian or groomer are willing to trim your dog’s nails for you.
Watch our How to Trim Your Dog’s Nails video here

